StudyCrafter Project Screen
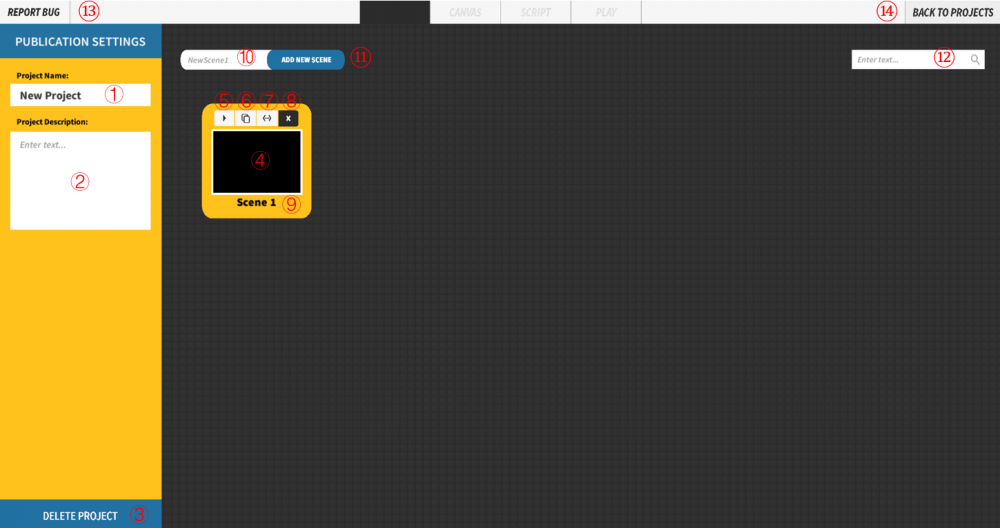
The Project Screen of StudyCrafter shows all scenes of your project. The image below shows this page. Red numbers reference the explanations given below.
1. Project Name
You can name your project by entering the name in this box.
2. Project Description
Click the blank area and enter a description of your project in this box. This is optional.
3. Delete Project
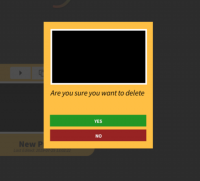
Clicking the Delete button allows you to delete the project. StudyCrafter will ask for confirmation before carrying out the deletion. Note that deletion cannot be undone: Once a project is deleted, it is gone forever.
4. Enter the Scene
By clicking anywhere in this area except for the four buttons (marked 5-8), you can enter the Layout Tab of the Scene you select.
5. Play the Scene
Click this button to enter the play screen of the scene and have a preview of this scene.
6. Duplicate Scene
Clicking the Duplicate button creates an exact duplicate of the selected scene.
7. Edit Script
Click the edit button to enter the Scriptor Tab of this scene.
8. Delete Scene
By clicking the Delete Button, you can delete the selected scene.
9. Rename Scene
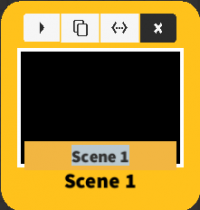
By clicking the name of a scene in the Project Screen, that name will become editable. Enter the name you want to rename the scene.
10. Name A Scene
You can name a new scene before you create it by entering the name in this box.
11. New Scene
Clicking the New Scene Button will create a new scene in this project, and you will enter this new scene directly (in the Layout Tab). If you go back to the Project Screen, you will see the new scene just created.
12. Scearch Your Scenes
You can search for individual scenes by name by entering the scene name in this box. StudyCrafter will restrict the scenes it shows to scenes matching the name you enter.
13. Report Bug
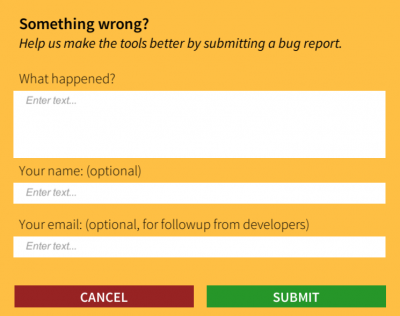
If you encounter any bugs while using StudyCrafter, click the Report Bug button to let us know. The bug report window is shown below.
14. Back to Project
Click this button to go back to the StudyCrafter Homepage.


